
We are pleased to announce the release of HelpSmith 10.2 (which you can download from our website) that includes a redesigned Image Tool which is now integrated directly into the main window of the help authoring tool, improvements to the Hyperlink dialog to allow for faster selection of the linked topic, improvements to the topic editor for more comfortable work with enhanced styles, and other enhancements.
The HelpSmith help authoring tool provides not only a powerful word processor with true support for styles, including combined text and paragraph styles as well as table styles, but also includes a built-in Image Tool which allows you to capture screenshots, annotate images, add clickable hotspots, and even generate topics for your application’s user interfaces. This makes it easier for technical writers to communicate product information to users in the most efficient way.
Improved User Interface of the HelpSmith’s Image Tool
In HelpSmith 10.2, we’ve redesigned the Image Tool’s interface to make it more user-friendly and intuitive. Since the Image Tool is now integrated directly into the main window of the help authoring tool, you can easily access various types of annotations, hotspots, and other objects directly from the Ribbon. Also, you can instantly see the default style for specific annotations (e.g. text labels, arrows, balloons, shapes, etc.) as defined in their settings.
In the same place, you can add control annotations which can be exported to the topic, clickable hotspots, and a mouse cursor. Also, you can find familiar commands to edit properties of the selected annotation object or hotspot, auto-alignment and rotation commands, and re-numbering for control annotations.
Thus, the HelpSmith’s Image Tool makes it easier for you to select the needed annotation as you can instantly see its default style. This also makes working with the HelpSmith help authoring tool more comfortable thanks to the user interface which fully complies with modern standards!
How to Add Annotations to an Image in HelpSmith
- In the topic editor, hover the mouse over an image.
- In the top-left corner of the Image, click Edit Image.
- In the Image Tool, on the Annotations tab, in the Add Object group, select the needed object.
- Specify parameters of the annotation, such as text, font size, color, etc.
- Click OK.
Finally, you can quickly access image settings for specific annotation types, such as control annotations, hotspots, and cursors by clicking on the arrow icons in the Add Object group. Here, you can customize the appearance of these objects according to your preferences.
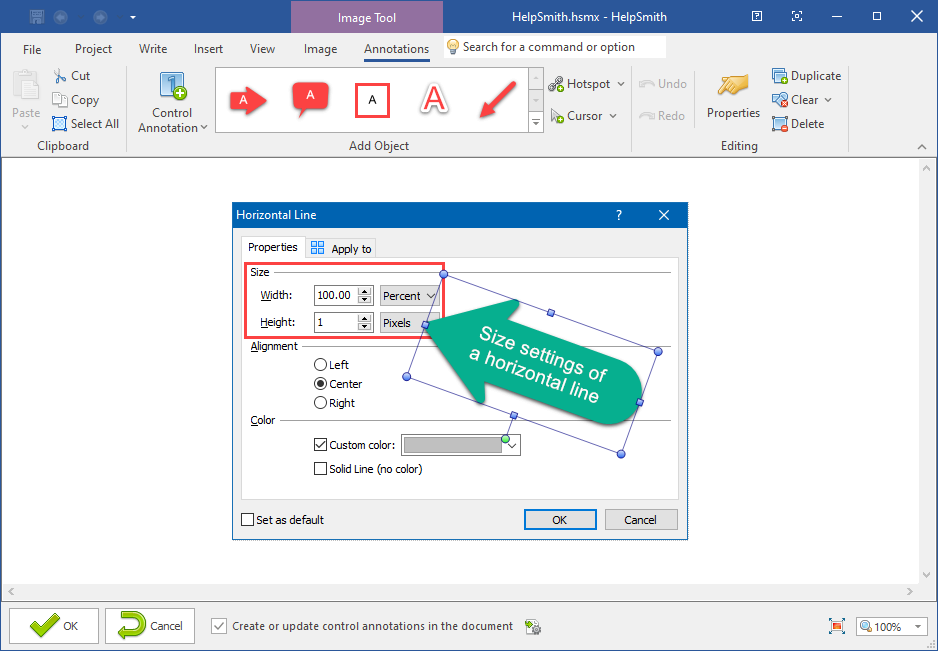
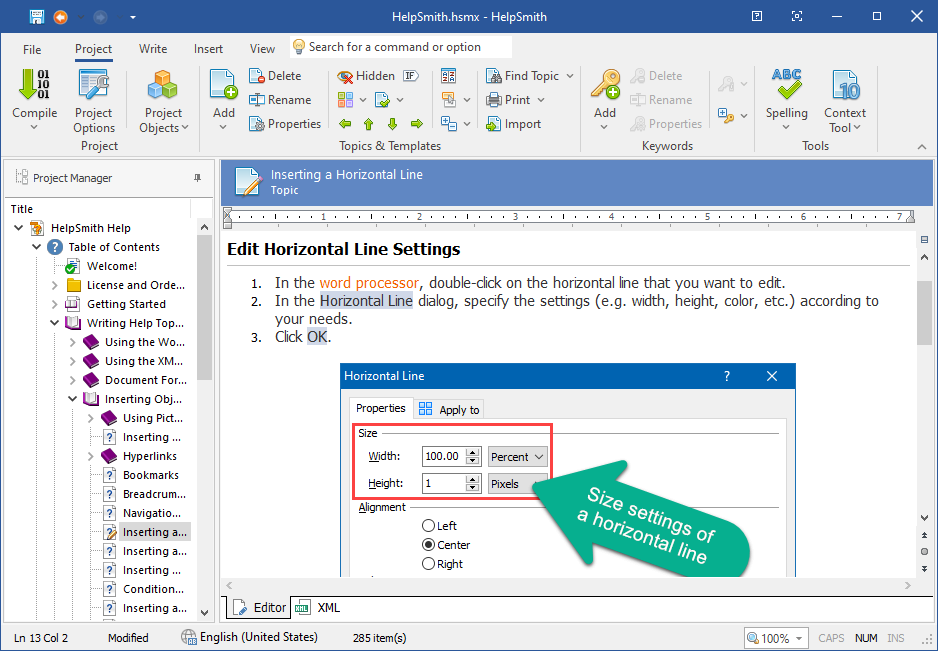
Working with the Image in the HelpSmith’s Image Tool
The Image tab now includes image-related functions including the Capture Window, Capture by Timer, and Crop commands. If you need to export the image with (or without) annotations to an external image file, you can use the Export button. To edit image properties, click the Properties button in the Ribbon as shown on the screenshot below.
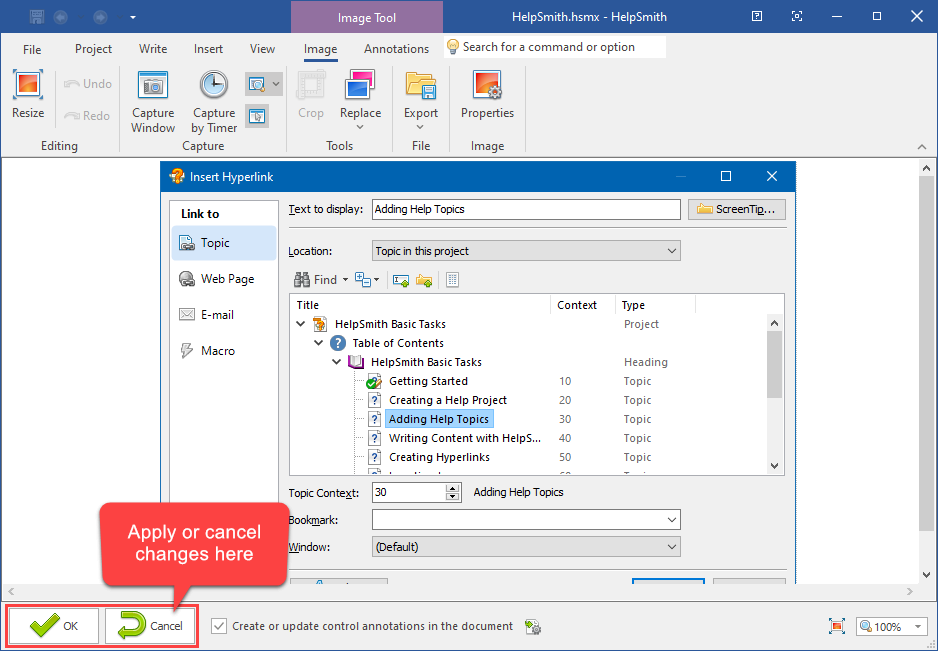
Remark: Please note that to apply changes to the image, you should click the OK button at the bottom of the Image Tool window. Here, you can also specify if you want to export control annotations to the topic’s body.
Faster Topic Selection in the Hyperlink Dialog
In HelpSmith, you can quickly create various types of hyperlinks, thanks to intuitive Hyperlink properties dialog allowing you to select the linked topic or specify the link to an external webpage. However, in HelpSmith 9.2, we’ve added minor improvements to the Hyperlink dialog to help you select the linked topic even faster.
Now when you insert a new hyperlink, the Hyperlink dialog remembers the last selected topic. When you insert another hyperlink, the last-used topic will be selected by default. In many cases, the next hyperlink should follow a topic from the same chapter or to a related topic in the Table of Contents, so this approach will significantly reduce the time spent searching for the needed topic!
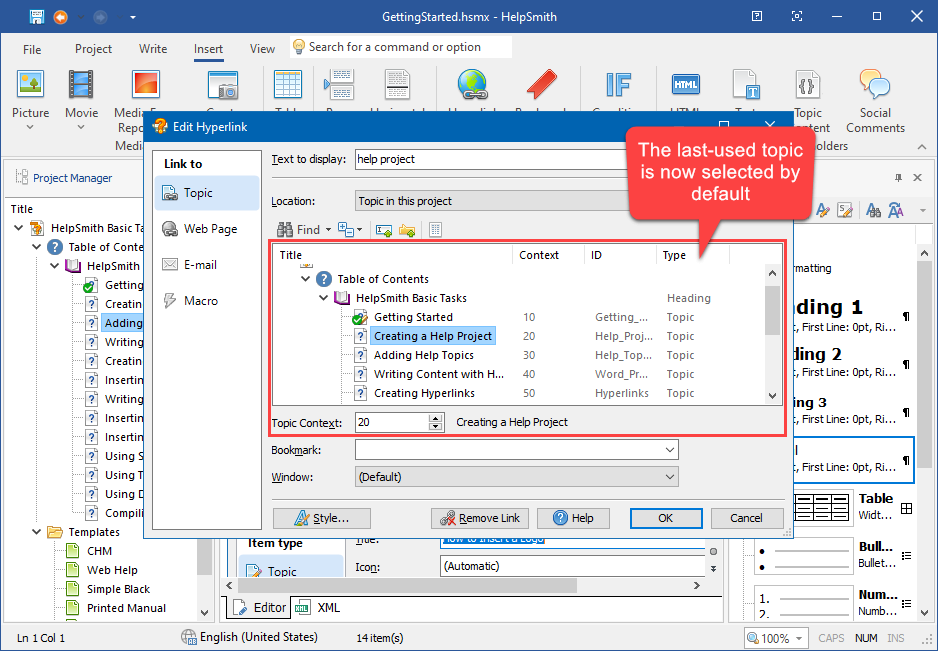
It should be said that that the same approach is also used when selecting a linked topic in other places. For example, in the Related Links editor, and in hotspot properties in the Image Tool. If you change the link type from “Webpage” to “Topic”, the topic that was most recently used when creating a hyperlink will be selected by default.
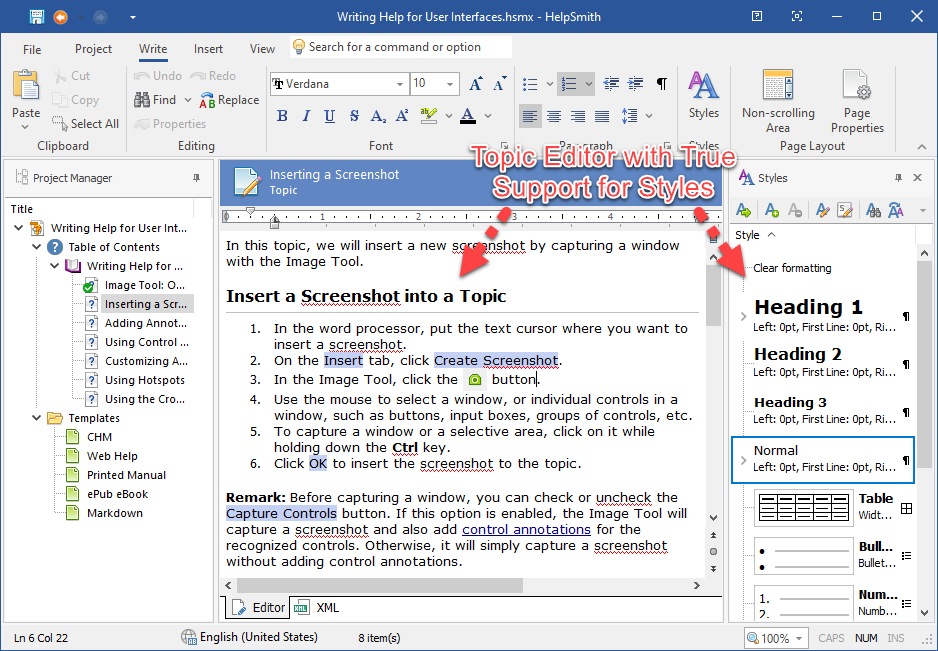
More Comfortable work in the Topic Editor with True Support for Styles
Since the release of HelpSmith 10.1, which introduced a new topic editor, we have thoroughly tested its functionality. In particular, we paid special attention to working with enhanced styles, which allow you to combine paragraph and text styles, quickly create bulleted and numbered lists, and apply styles to tables in your help project.
In addition, we have received a lot of valuable feedback from HelpSmith users, which has helped us to improve the editor’s behavior in certain cases. This affects various aspects of working with the editor, such as replacing selected text, utilizing custom keyboard shortcuts, and addressing minor issues related to style assignments for new text, applying currently selected text formatting to the next paragraph, etc.
In HelpSmith 10.2, we’ve taken all these comments into account and made the built-in editor even more confortable and user-friendly!
Get the Most Powerful Help Authoring Tool with an Easy-to-Use Interface
Thanks to the intuitive interface, HelpSmith has established itself as one of the easiest-to-use help authoring tools. At the same time, HelpSmith offers many outstanding features: topic editor with full-featured styles including table styles, flexible Build Tags for conditional compilation, open XML format for your help project, great image annotating capabilities, the ability of the generated web help system to work on a local computer, excellent customization options, advanced options for importing existing documentation, and, of course, the ability to generate documentation in HTML Help (CHM), Web Help, PDF, Word, ePub, and Markdown formats from a single source!
In this HelpSmith update, we’ve made the help authoring tool even easier to use for creating help files and manuals. With the integrated Image Tool, you can now write documentation as well as take and annotate screenshots, all in one place!
Release Notes for HelpSmith 10.2
- The Image Tool is now integrated directly into the HelpSmith’s main window.
- Image Tool: select annotations from the Ribbon, instantly see the default style defined for various annotations.
- The Hyperlink dialog now displays the last used topic to help you select topics more quickly.
- When importing Word documents (.DOC, .DOCX), HelpSmith now displays error messages received from MS Word.
- Various improvements to the topic editor for more comfortable work with enhanced styles.
- Some keyboard shortcuts (e.g. Ctrl+Shift+N) defined for styles might not work properly.
- HTML Head section: paths to images in media references were not resolved correctly during compilation.
- Topic editor might apply an incorrect text style for a new paragraph in certain cases.
- Fixed an issue with unintended bullets that appeared when importing some Word documents.
- Other enhancements and minor bug fixes.
How to Upgrade
If you have a license for HelpSmith 10.x (or for a previous version for less than a year), you can upgrade to the latest HelpSmith version (the same edition) for free. Otherwise, you can upgrade existing licenses to HelpSmith 10.x at a special price. To place an upgrade order, you can visit this link.
Download HelpSmith 10.2
You can download the latest HelpSmith version here.